Episode 3: Let’s Make a Sanding Backing Tool (Atezai)
demeburogu
Episode 3: Let’s Make a Sanding Backing Tool (Atezai)
Using a backing tool makes polishing much easier.
In Episode 2, we discussed how polishing with just your fingers doesn’t allow force to concentrate at a single point, causing the surface to become wavy. The reason for this is that fingers are soft, preventing force from being applied evenly. This time, let’s solve this problem by making a backing tool (atezai). A backing tool is made by attaching sandpaper to the tip of readily available items like disposable chopsticks or bamboo skewers for polishing. Let’s make one together.
Contents
- What This Article Aims to Convey
- What Exactly is a “Backing Tool” (Atezai)?
- Three Essential Conditions for Backing Tools
- Backing Tools You Can Make from Common Items
- How to Attach Sandpaper
- Adapting the Backing Tool to Match Different Shapes
- Common Mistakes and Solutions
- Summary
- Next Episode Preview: Episode 4 – The Order of Polishing
What This Article Aims to Convey
- Discussion about parts that cannot be polished effectively with fingers alone
- How backing tools can be made from materials close at hand
- How to select and make backing tools suited to different shapes
What Exactly is a “Backing Tool” (Atezai)?
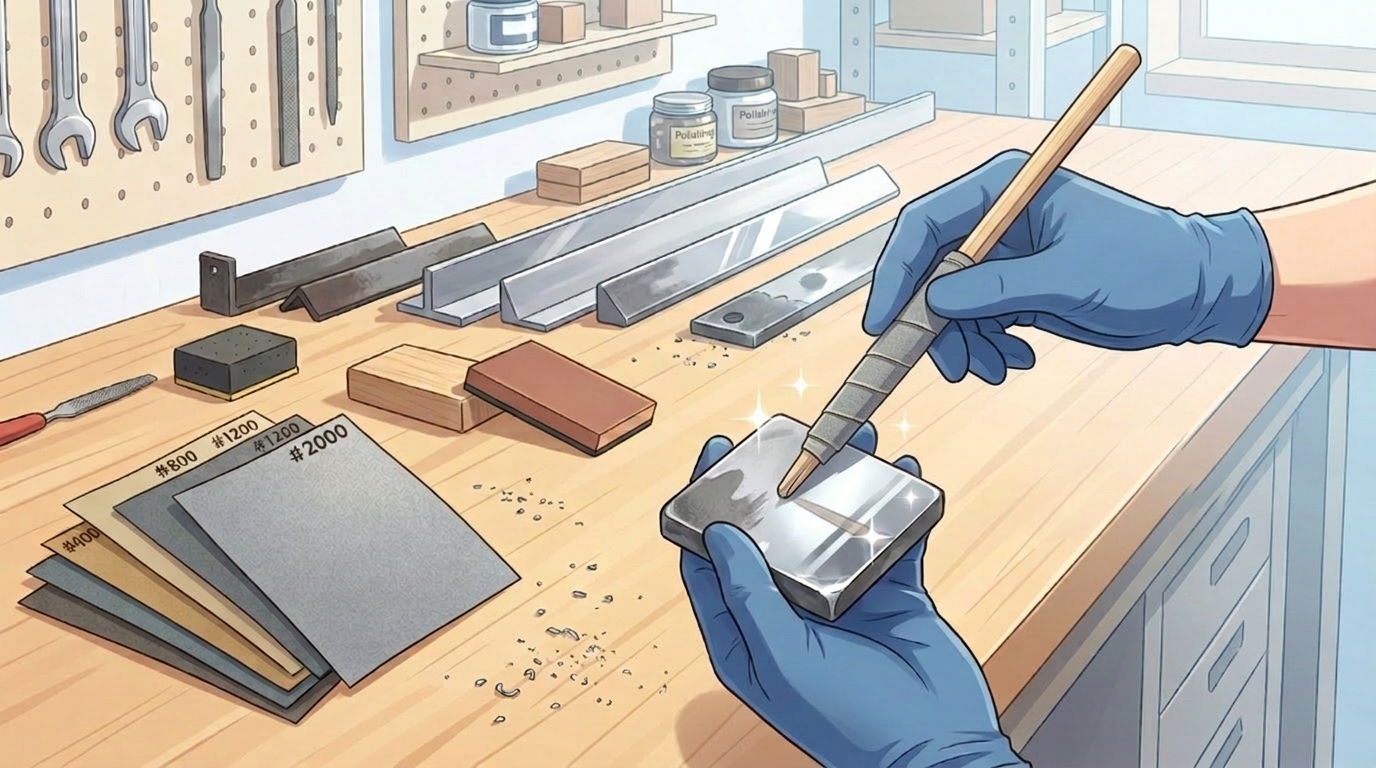
When polishing, are you using sandpaper with just your fingers? While this is excellent for feeling the polishing surface directly, in reality, fingers are soft, so force inevitably cannot be applied evenly, and they are not suitable for polishing corners or edges.
Think of a backing tool as something that allows the sandpaper’s force to be distributed evenly, resulting in a beautifully polished surface.
When you polish with fingers alone:
- The surface becomes wavy
- Corners are easily crushed and it’s not suitable for corner areas
When you polish using a backing tool:
- Polishing direction becomes uniform
- Corner areas can be polished cleanly
- Corners are less likely to be crushed
Three Essential Conditions for Backing Tools
The materials used for backing tools cannot be just anything. Keep the following three points in mind when selecting them:
Must have sufficient hardness: If it’s too soft, like fingers, it will cause the surface to become wavy.
Must match the shape you want to polish: Choose flat items for flat surfaces and items with angles for corners.
Must allow easy sandpaper attachment: Should be easy to wrap, press, or fix the sandpaper securely.
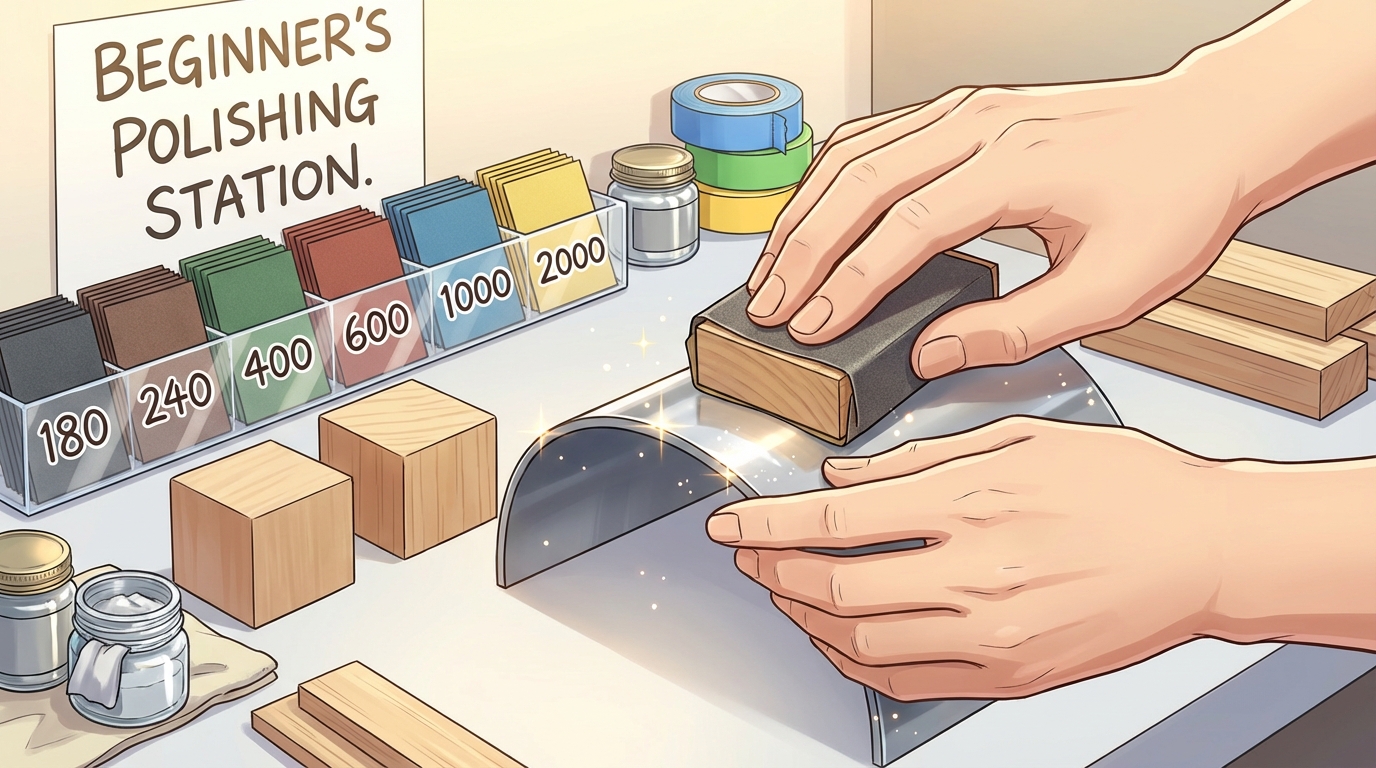
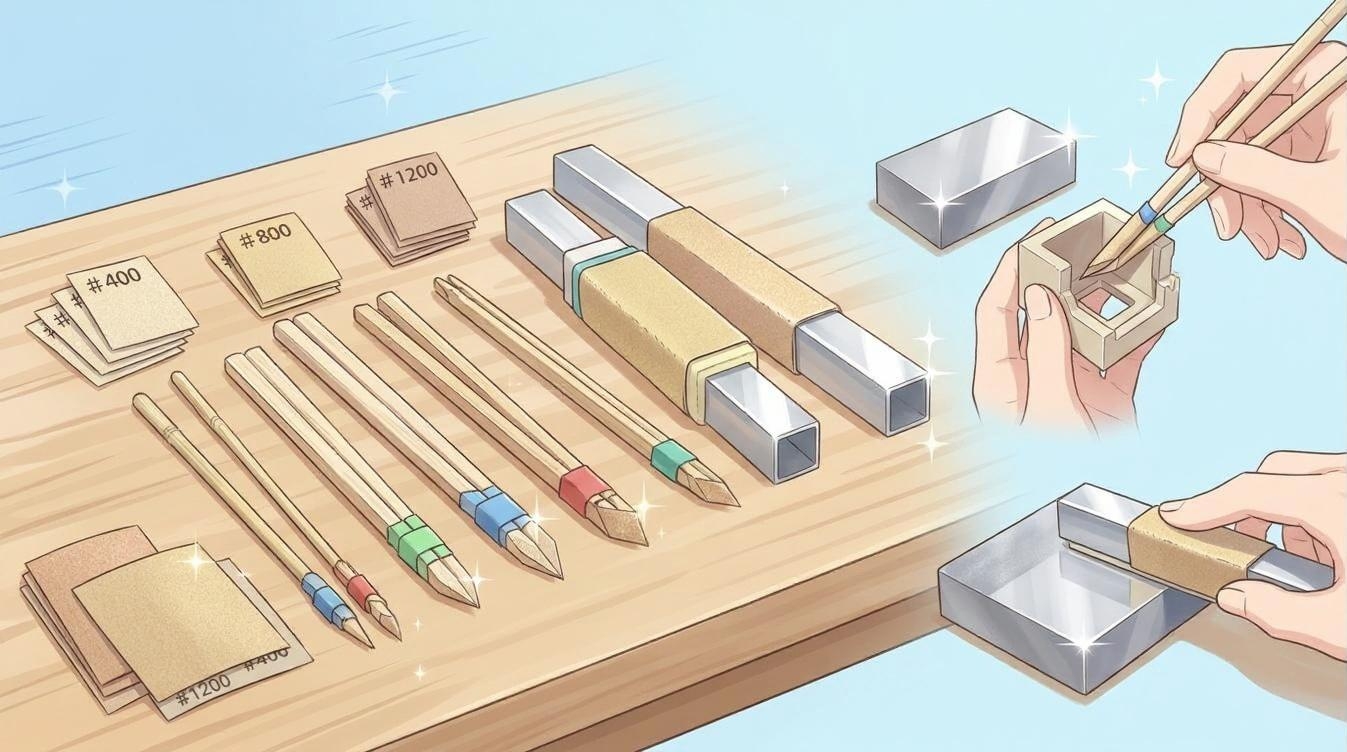
Backing Tools You Can Make from Common Items
When Polishing Flat Surfaces
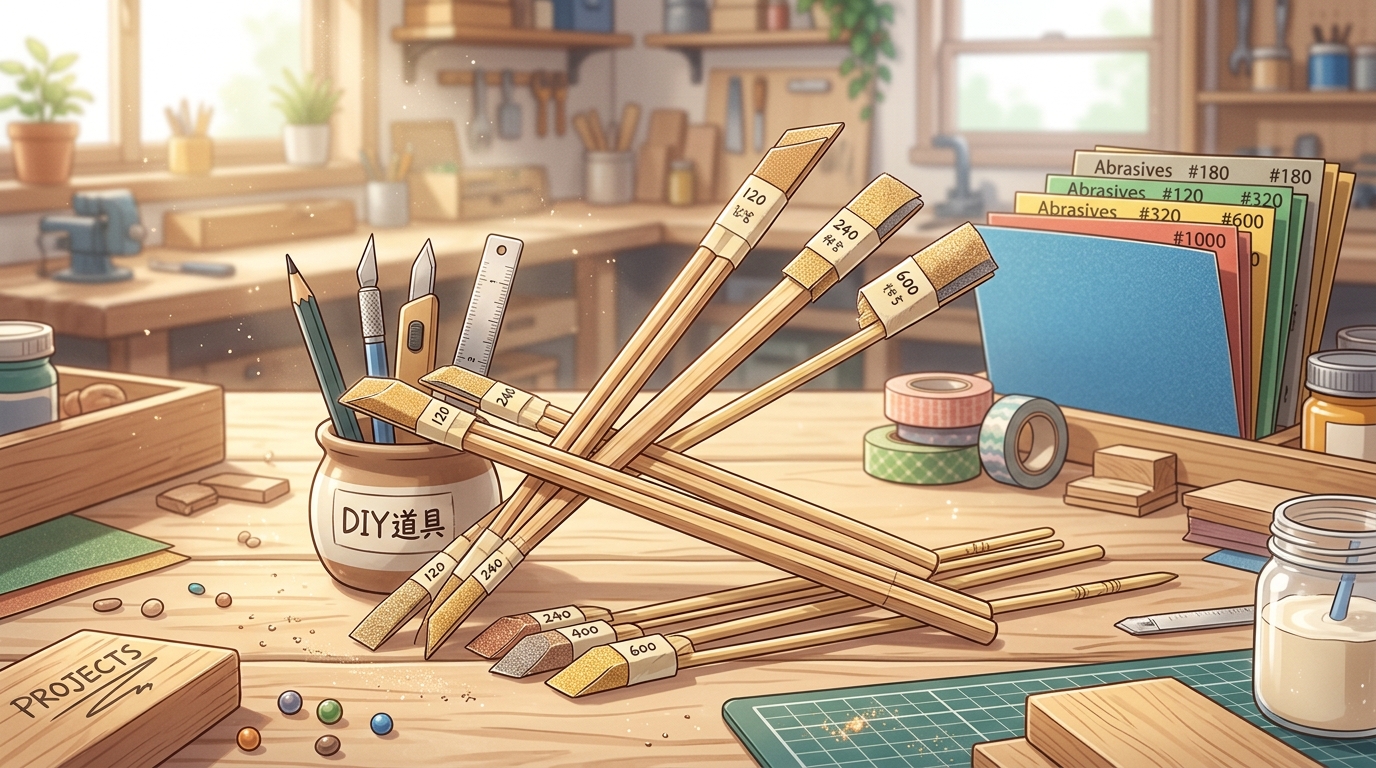
Disposable Chopsticks and Bamboo Skewers: Easy to obtain and process, suitable for small flat surfaces.
Aluminum Square Bars: Hard, flat, and don’t slip easily, suitable for large flat surfaces or final polishing. Note: Use only on materials softer than aluminum.
Wooden Square Bars: Can be purchased at home centers or 100-yen shops.
How to Make a Chopstick Backing Tool
- Take used or new disposable chopsticks and create a 30 to 45-degree angle at the tip to make it easier to press and hold the sandpaper
When Polishing Corners and Edges
Bamboo Skewers: Thin and easy to fit into corners, suitable for narrow grooves and fine corners.
Aluminum Materials: Harder than chopsticks, so they can be applied perpendicular to corners.
Corner Part of Disposable Chopsticks: Can be used as-is without processing. Easy to use for small corners.
When Polishing Slightly Rounded Surfaces (R Parts)
- Polish by pressing the sandpaper against the corner of chopsticks. For R parts, fingers are currently easier to use for polishing.
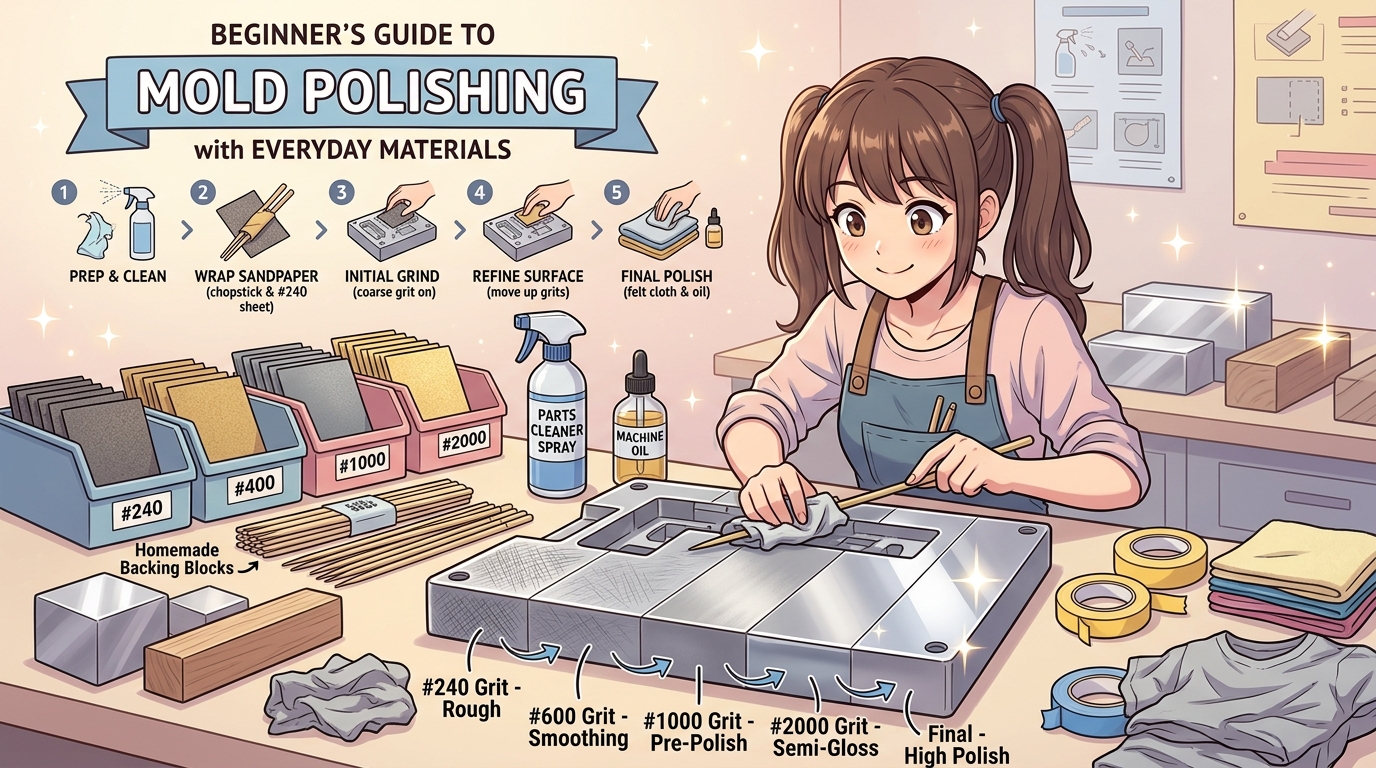
How to Attach Sandpaper
- Cut the sandpaper into strips matching the width of the backing tool, fold it in half or thirds, and polish with the tip of the backing tool (adjust sandpaper size to match the polishing shape)
- Apply double-sided tape to the back of the sandpaper and attach it firmly to the backing tool
Adapting the Backing Tool to Match Different Shapes
Change the tip of your backing tool to match the shape you’re polishing.
For polishing corners: Process the tip of the backing tool at about 30 or 45 degrees so you can polish with the flat surface of the sandpaper.
Common Mistakes and Solutions
Sandpaper slips immediately:
→ The sandpaper folding method or double-sided tape fixation is weak, or the sandpaper doesn’t slide smoothly
Solution: Fold the sandpaper firmly so that the polishing surface contacts both the workpiece and backing tool properly. Use oil to improve sandpaper gliding if needed.
Surface doesn’t become uniform:
→ You’re polishing only the same spot repeatedly, or need to vary your angle
Solution: Try changing the angle while polishing and avoid concentrating on the same area.
Summary
A backing tool is “the foundation that determines polishing precision.”
- Polishing with fingers alone causes the surface to become wavy
- Process the backing tool to match the shape you’re polishing
- Firmly secure the sandpaper before starting
Next Episode Preview: Episode 4 – The Order of Polishing
Once you have your backing tool ready, next comes “the order of polishing.”
- Which grit of sandpaper should you start with?
- When is the right timing to change to the next sandpaper?
- What does it mean to polish while changing direction?
Just knowing the correct order makes a completely different finish. See you next time!
Next Episode Preview: Episode 4 – The Order of Polishing
ABOUT ME

ものつくりの技術はあなたを世界のどこでもつれてってくれます。
その旅に出る為楽しく伝えます。
その旅に出る為楽しく伝えます。