demeburogu
Episode 2: Let’s Get Started with Everyday Materials
You can begin mold polishing with things you already have around you
What this article wants to convey
- You can start polishing even without specialized tools.
- Try experiencing the basics of polishing using easy-to-find materials.
1. What you can and can’t do with everyday materials
What you can do
- Practice stepping up through finer grits using sandpaper and stick stones on a practice piece.
- Practice removing small dents and scratches.
- Practice keeping your sanding/stoning direction consistent.
What you can’t do (for now)
- Mirror finishing (I want to be able to do this eventually.)
- Shapes that require high dimensional accuracy.
- Deep damage that requires welding.
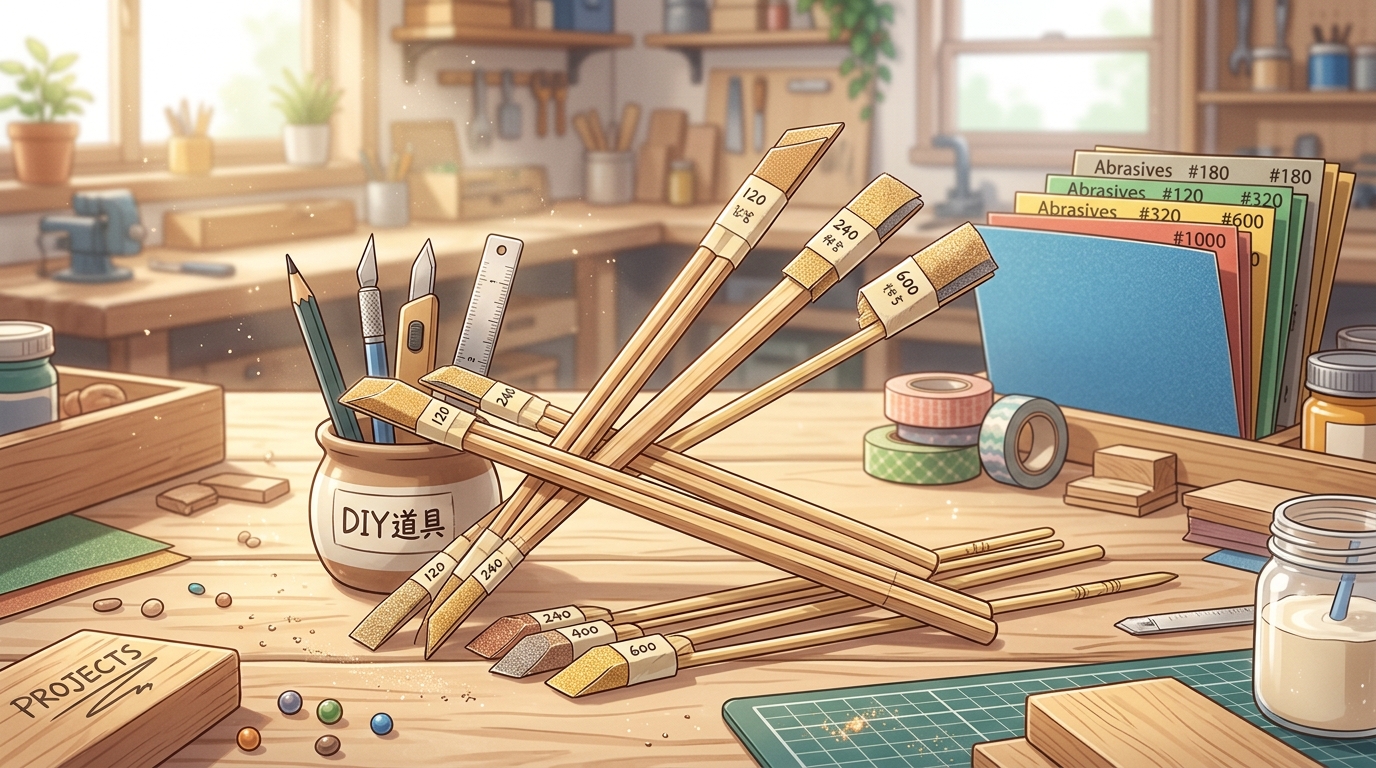
2. “Everyday materials” checklist (easiest to get first)
Tools
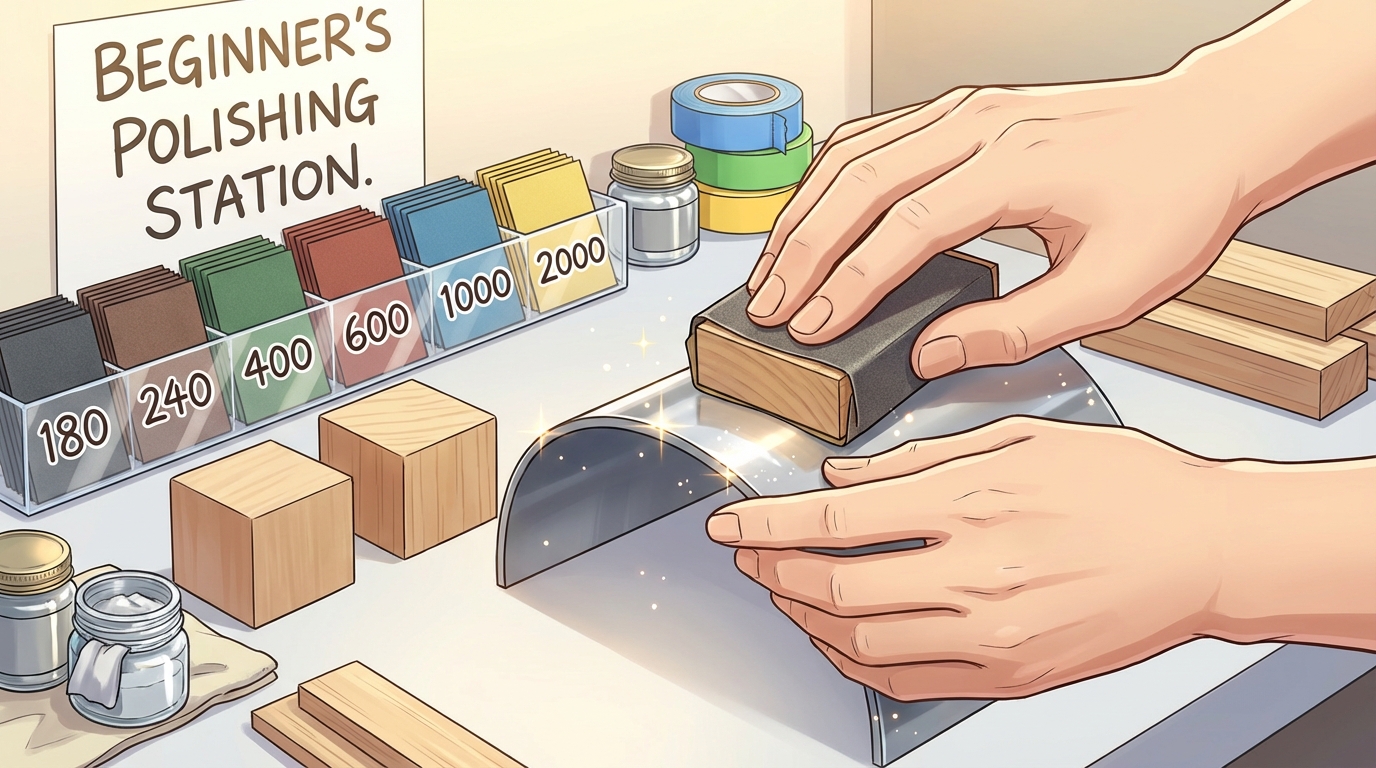
- Sandpaper (e.g., #180, #240, #320, #400, #600, #800, #1000, #1500, #2000, etc.)
- Felt or T-shirt scraps (for wiping)
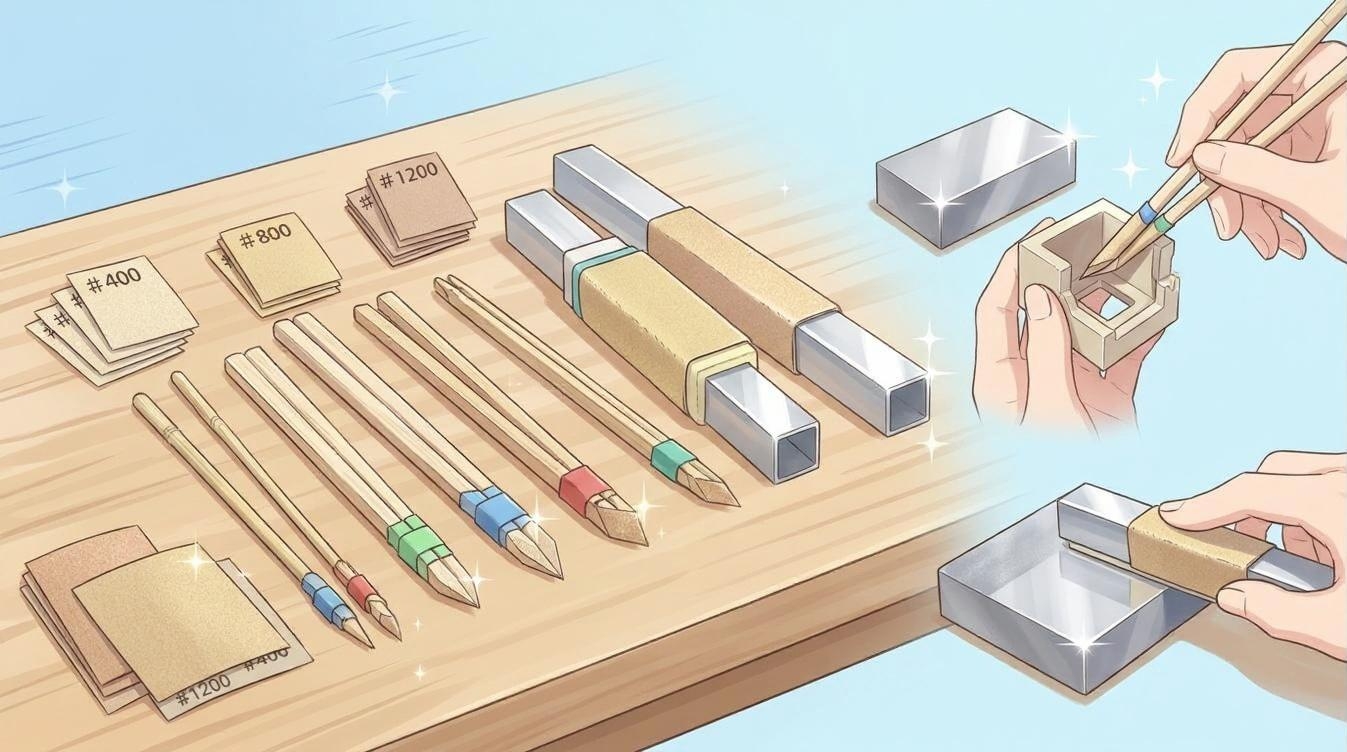
- Backing blocks
- Disposable chopsticks or bamboo skewers
- Aluminum square stock
- Square wood stock, etc.
Clog prevention / protection
- Machine oil
- Parts cleaner
- Protective tape or masking tape (for masking/protection)
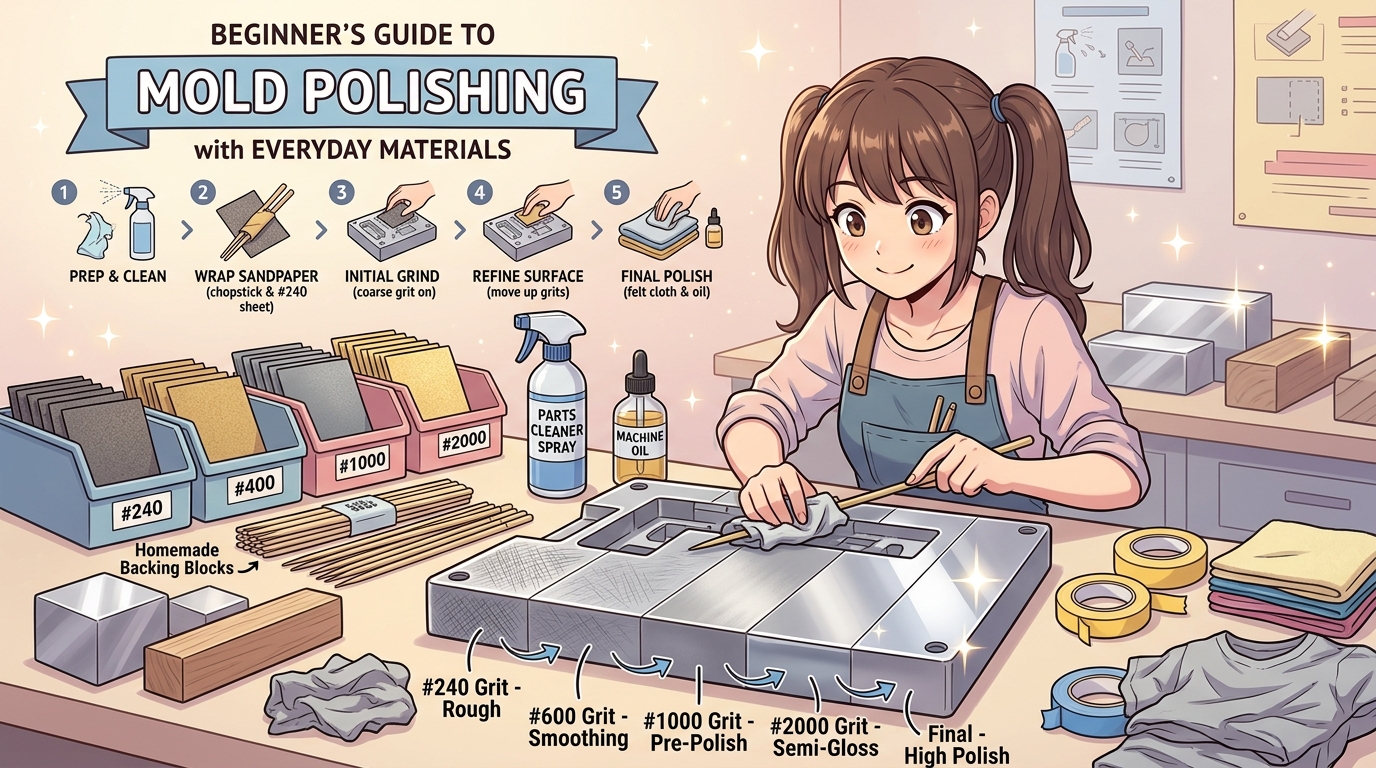
3. A basic process you can start today
Step 1: Check the area to be polished
- Identify the area you will polish.
- Check how rough the surface is.
- Mask off surrounding areas with masking tape (so you don’t polish where you shouldn’t).
Step 2: Prepare the sandpaper
- Start with a slightly coarser grit.
- Guideline examples (a table in the article would be helpful):
- Noticeable scratches → #240 to #400
- Light scratches → #600 to #800
- Smoothing/conditioning for finishing → #1000 to #2000
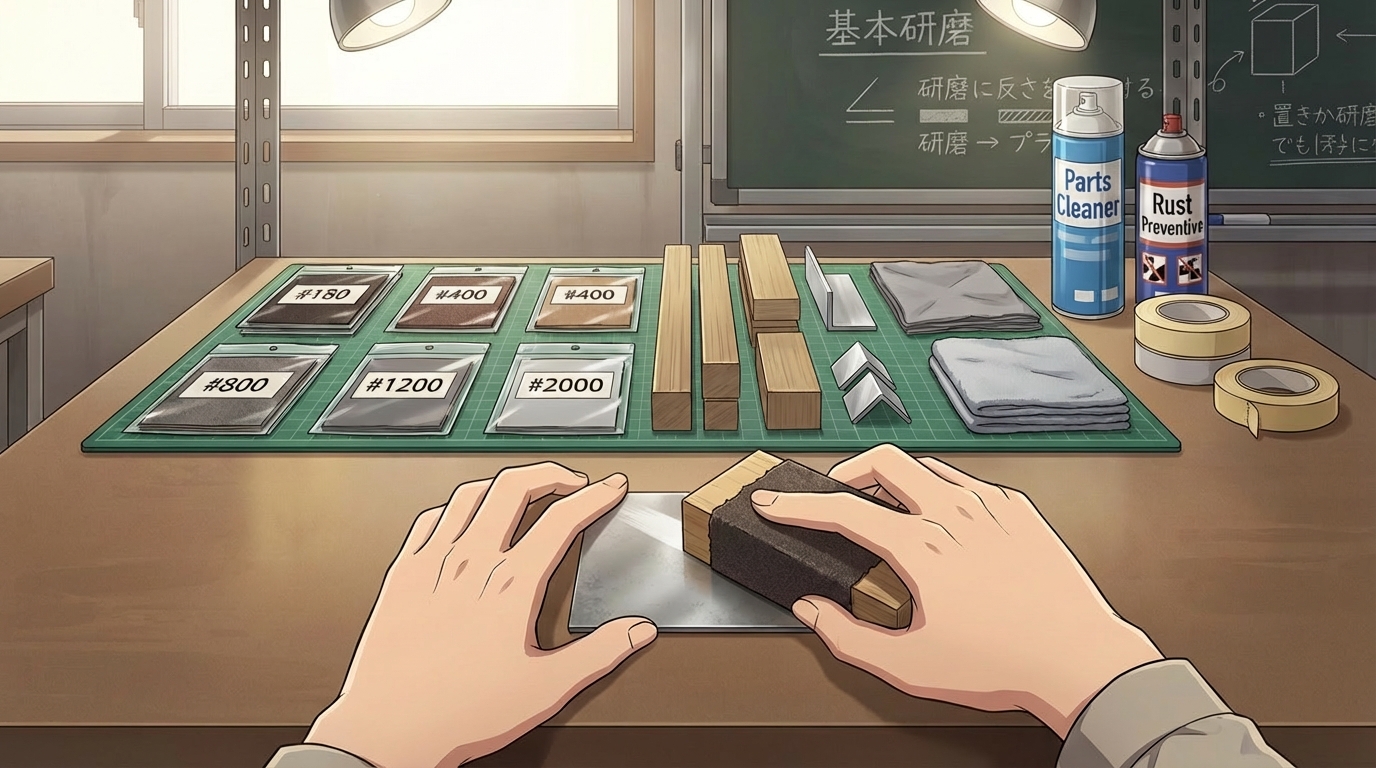
Step 3: Basic polishing technique
- Change the sanding direction by 90° (or 45°) as you progress.
- Use a backing block so the paper contacts the surface evenly while you sand.
- For corners, modify the backing block so it can reach the corner properly.
- Use parts cleaner or anti-rust spray to prevent clogging; anti-rust spray also helps the sandpaper slide smoothly.
Step 4: When to change to the next grit
- When the sandpaper starts to lose resistance, it’s time to move to the next grit (e.g., #320 → #400).
- Don’t skip grits (e.g., don’t jump from #320 → #600).
4. Tips by area: polishing with everyday materials
Flat surfaces
- Press the backing block (chopstick/skewer, etc.) evenly.
- If the backing block isn’t flat/even, the polished surface can become wavy.
Corners / edges
- Hold the backing block perpendicular so you don’t round over the edge.
5. Common mistakes
- Polishing with only your fingertips can make the surface wavy.
- Skipping grits (if the base surface isn’t properly prepared, scratches will show through even with fine paper).
- Focusing on the same spot too long and creating a hollow.
- Not keeping the backing block straight, causing edges to get rounded (“washed out”).
6. Checking the finish
- Use a metal polish to check (e.g., Pikal).
- Run your finger across the polished area.
- Shine a light on it and inspect.
- Use a magnifier to examine the surface.
8. Summary (short)
- Even with everyday materials, you can improve by learning how to use backing blocks and sandpaper properly.
- Don’t keep polishing the same spot over and over.
Images of the everyday tools will be added in order.
ABOUT ME
ものつくりの楽しさを伝えるブログです。
好きなことを伝えたいために英語学習もはじめています。